Thursday, December 31, 2009

Gearing up for Project 365

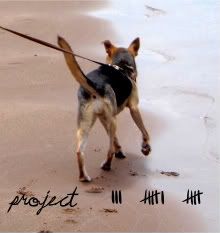
I've decided to join the ranks of my photo-snapping friends who are doing Project 365 in 2010. The concept finds its origins (as best I can trace) at photojojo. The premise is simple: commit to taking at least one photo a day for an entire year.

For some people, preparing has involved purchasing new cameras, starting new blogs, and making elaborate plans. For me, it involved charging the battery on my trusty Sony Cyber-shot. I'm an avid novice photographer, so I think this self-assigned assignment will be enjoyable and not onerous.

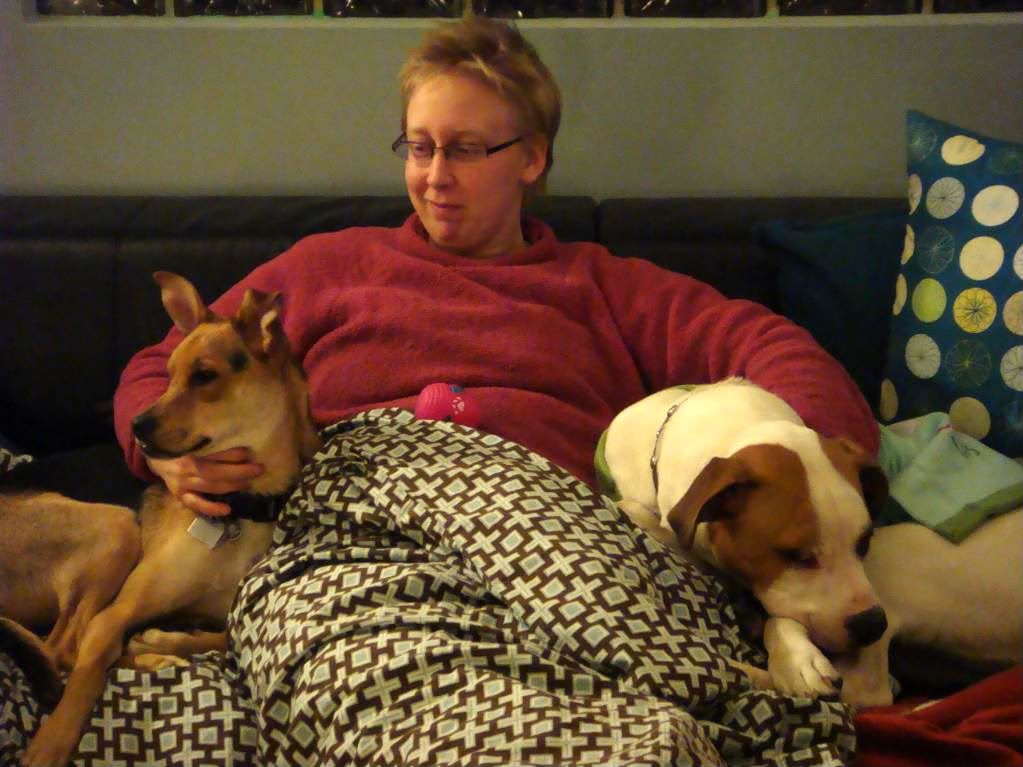
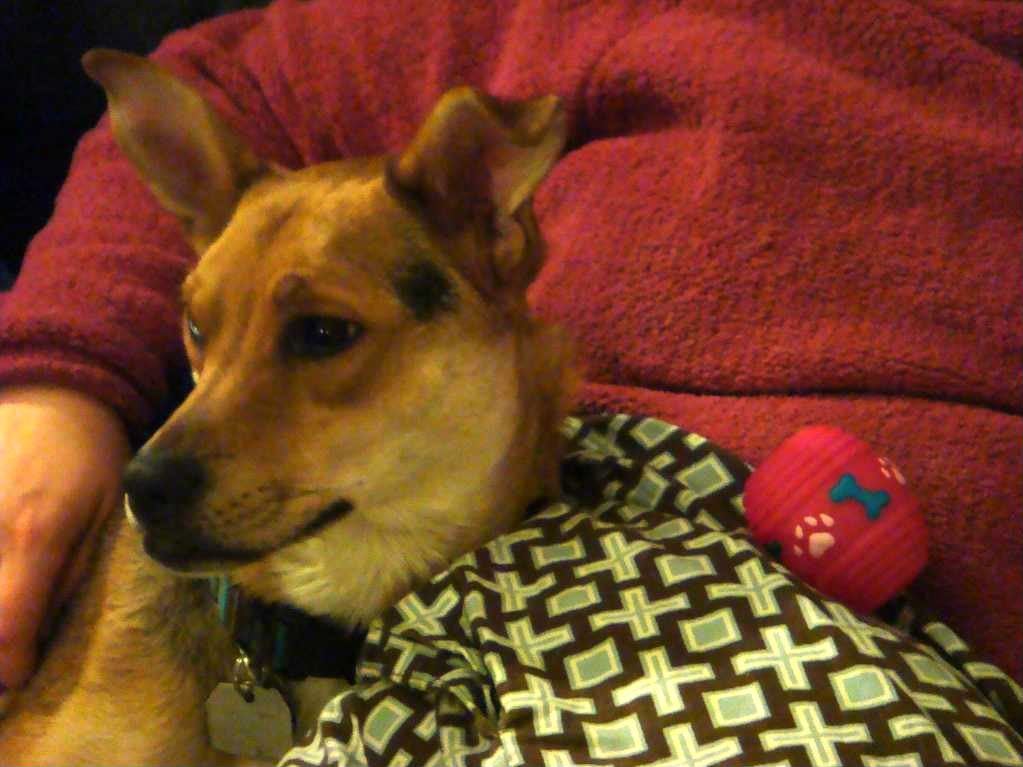
Gypsy will be our mascot for the project:


PS - Upon seeing this photo, Meg asked "What is project 3515?" Ah, true love.

Tuesday, December 29, 2009

The Best Laid Plans

At first we


And then I


And now I

Thursday, December 3, 2009

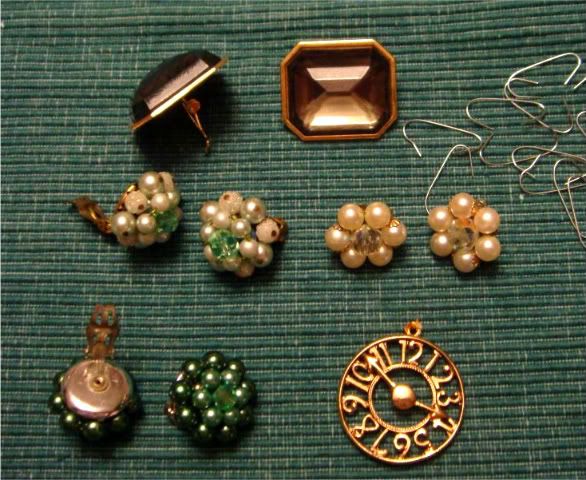
Easy Christmas Craft Project

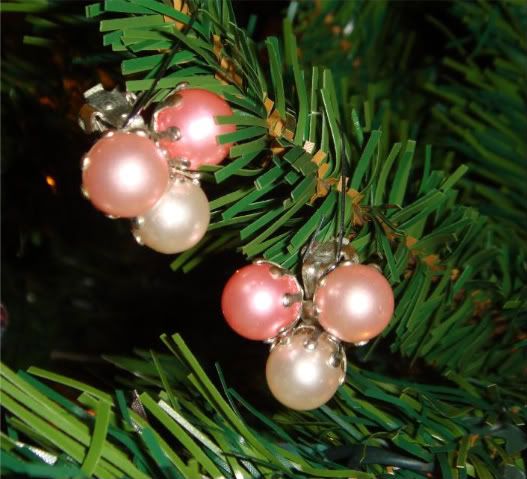
This project could not be simpler or more beautiful.

1. Lay your hands on some vintage costume jewelry. Check thrift shops, estate sales, or your grandma's jewelry box.

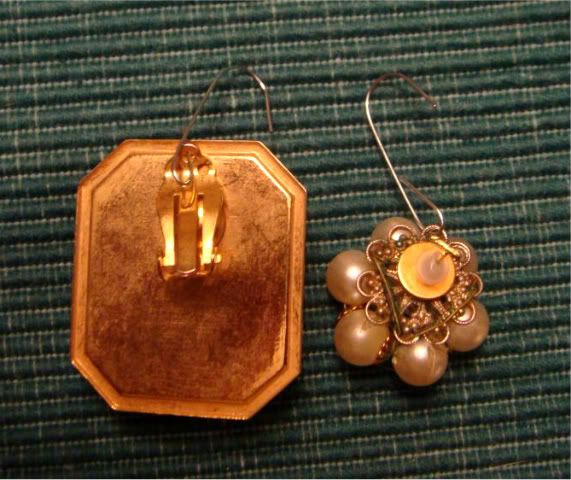
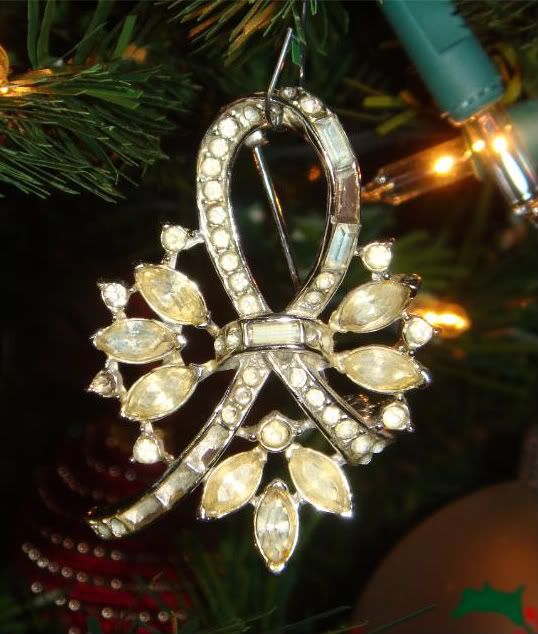
2. Get some ornament hooks and simply find the most logical hole in the jewelry piece to put it through. Clip-on earrings are especially good (because the clips always have tiny holes). Pendants and pins are also great.

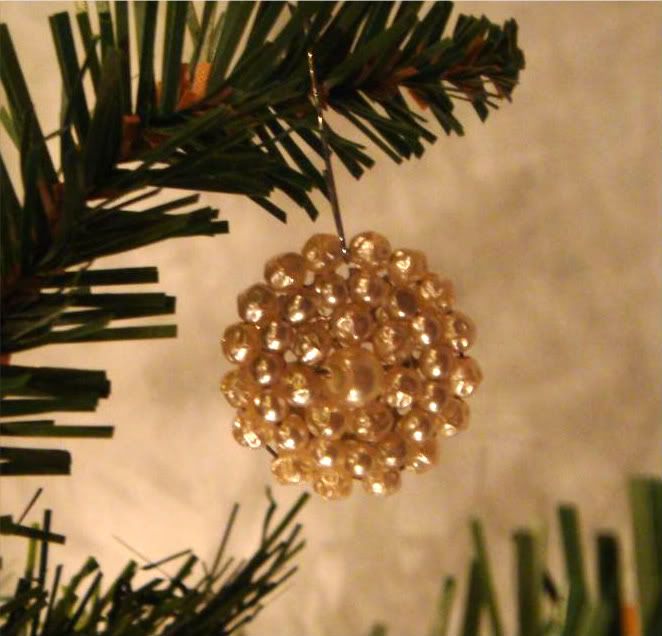
3. Hang on your tree.


Wednesday, December 2, 2009

Professor Quirrell

Can you find Voldemort in this photo?

Wednesday, November 25, 2009

Back in the Cities


Just a short post to say I'm back. I just got back from my mom's funeral. She had a heart attack at age 63 and did not survive. It is a terrible loss.

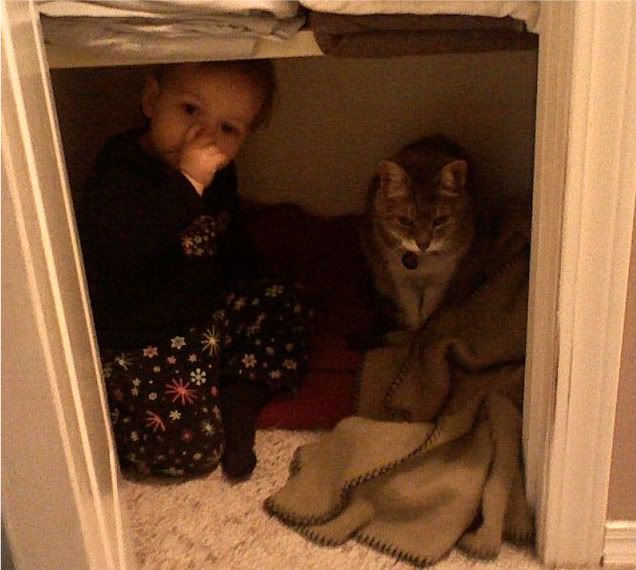
For now I give you a pic of my dear friend Amelia, featured here with Luna, formerly known as the world's meanest cat. Though Luna was 16 when Amelia was born, she managed to find that cat's sweet heart.

Last night at dinner, Amelia said to me quite solemnly, "Your Mommy died." Yes Amelia, she did.

Wednesday, November 18, 2009

Home Grown


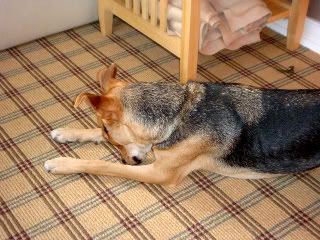
You, too, can grow your own American Shelter Hound! Just place the seeds in some dirt, add water, and keep in a sunny place. Before you know it, you'll have a shiny mutt!


Tuesday, November 17, 2009

How do you know?

How do you know if your dog has been sniffing around the art supplies?

Sometimes you just know.

(Sorry the pic is gone - I did some photobucket housecleaning and made more of a mess than anything...)

Monday, November 16, 2009

Lather, Rinse, Repeat

Gypsy sez: "Mazeeee, wanna play! Play! Play! Come play wif meeee!"


Maisey sez: "Skram, kiddo"


Gypsy sez: "Alone again..."

Sunday, November 15, 2009

Let the sun be your flash

Take advantage of any little bit of sunlight that comes your way this time of year.


Saturday, November 14, 2009

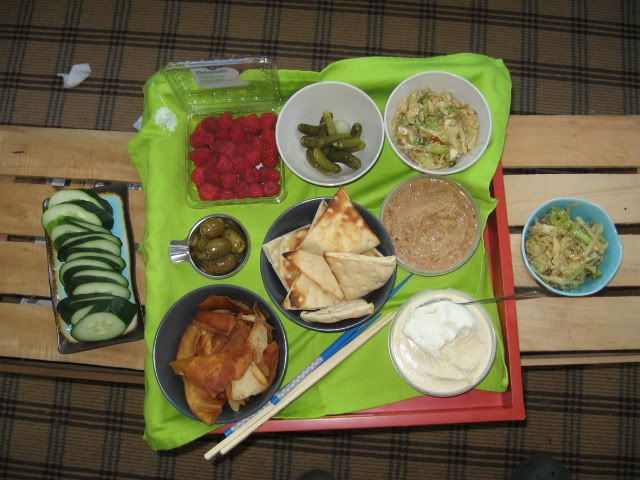
Picnic Supper

One of my all-time favorite meals to make (er, assemble) is the at-home picnic supper. A few staples include hommus, pita chips, cukes, pickles, berries or other fruit, olives, and whatever random stuff you have in the fridge.

Friday, November 13, 2009

Fleece Fashionista

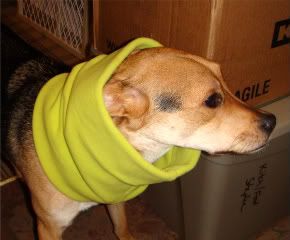
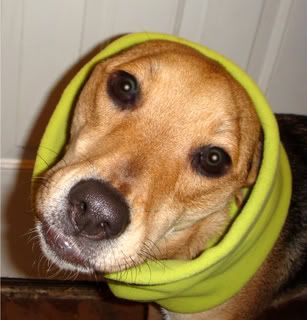
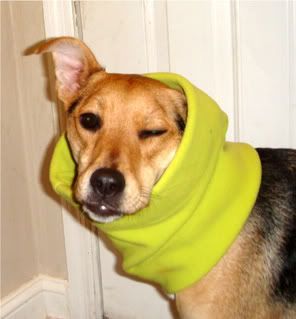
I'm a huge fan of polarfleece. Nothing is better for all-purpose warmth. So I found a few neck gaiters on clearance and bought them, um, for the dogs.


Gypsy rocking the babushka style


And my personal favorite, one ear in/one ear out.

Thursday, November 12, 2009

The Secret to Good Macaroni and Cheese

Well, two secrets really. And a confession.

But first, look at this goodness:
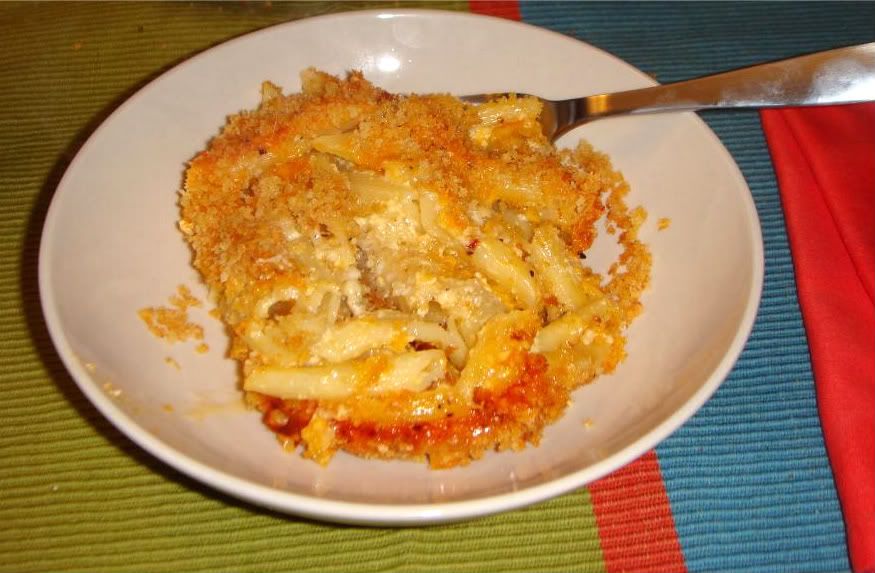


The secrets to making a good baked macaroni and cheese are
1) panko
2) Velveeta

I know, right? You can turn up your nose to Velveeta all you want, but it is the secret to easy-peasy mac and cheese. And that panko stuff, do you know about panko? Panko is Japanese-style breadcrumbs. Instead of being tiny and gritty, panko is bigger and flakier.

But before we get to the recipe and how to use these two magic ingredients: the confession. I don't cook with recipes. Ever. At all. Mostly because I don't like being told what to do. But also because I find it stressful to keep referring back to a cookbook or recipe when I cook.

So here's my "method" for making mac and cheese.

Boil some pasta. I like to rock it old-skool and use elbow macaroni. At the same time, put a big hunk of Velveeta into a sauce pan with some milk (or half and half, whatever you have around) and a couple of knuckles of butter. Let it all melt slowly while the pasta boils. Stir it a lot.

Meanwhile, round up all of the random cheese in your refrigerator. Most anything will do, really, unless you have some really skunky stuff, then save that for another day. Grate the random cheeses, or better get, have your partner grate it. (I cannot grate without serious injury.)

Once your sauce is saucy and your pasta is tender and drained, do this:

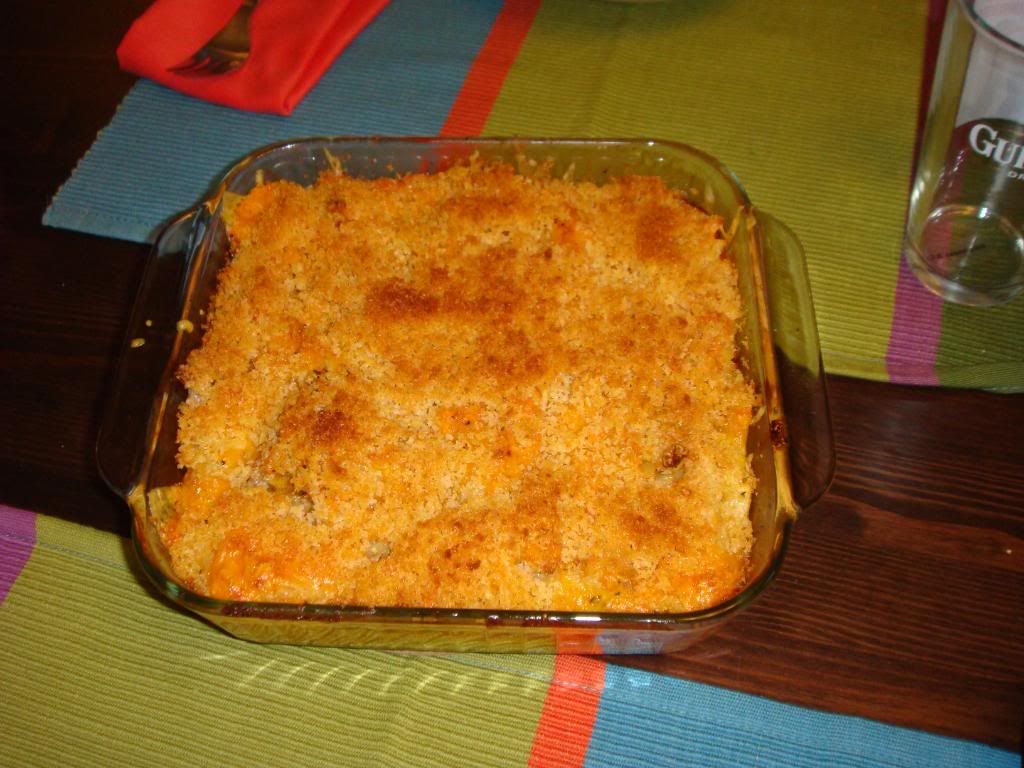
Smear butter on the bottom and sides of your casserole dish. Sprinkle panko over the butter. (Do this! It means a crusty bottom and easy clean up.) Add a layer of pasta, ladle some of the sauce over that, add a layer of shredded cheese. Keep making layers like a lasagna, making the top layer grated cheese. Now sprinkle more Panko over the top. Be generous. This will form a crusty seal on the top and prevent your dish from drying out.

Bake it at, I don't know, maybe 350? I bake everything at 350. You know it's done when the Panko on top is golden brown.

This stuff is THE BOMB. But a cheesey, gooey bomb, not the other kind.
Wednesday, November 11, 2009

low light pups

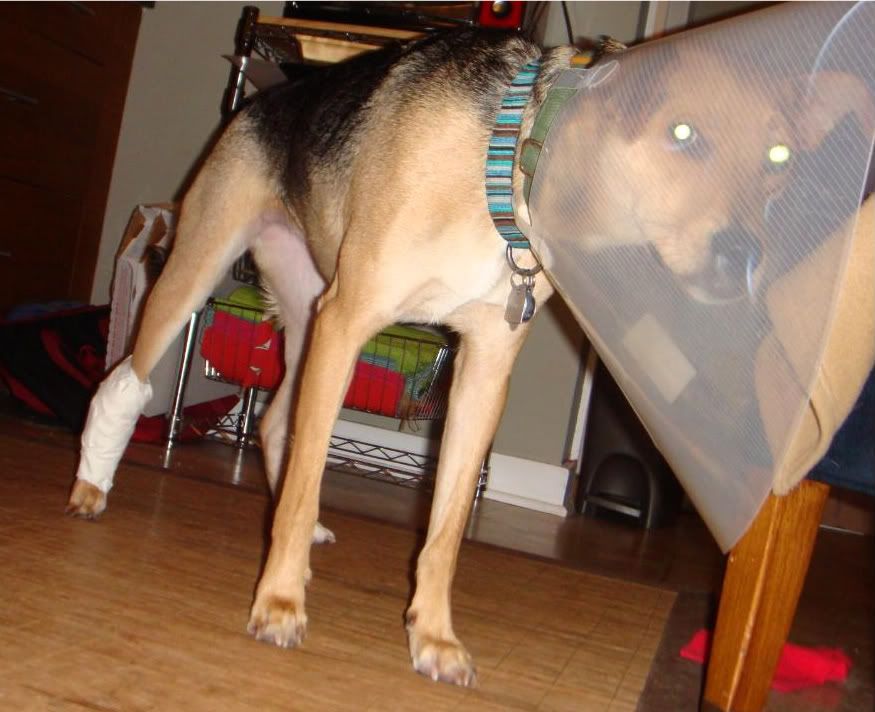
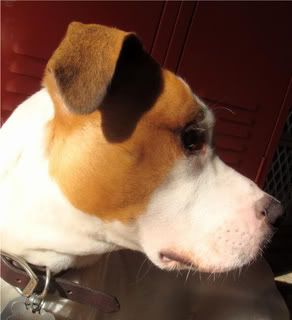
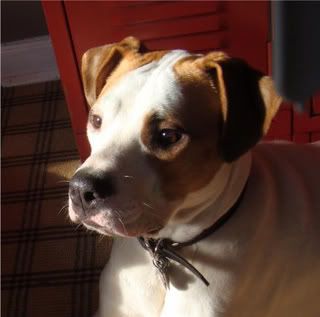
One of the biggest drags of winter (in addition to shoveling a lot of snow and bickering over what temperature the thermostat should be set at) is the limited amount of daylight. If you've ever photographed a dog with flash after dark, you know you get those freaky, glowy, zombie eyes.

Unless.

Unless you can get your subject to sit very, very still. And you shoot with no flash. Then you get gems like these.


Tuesday, November 10, 2009

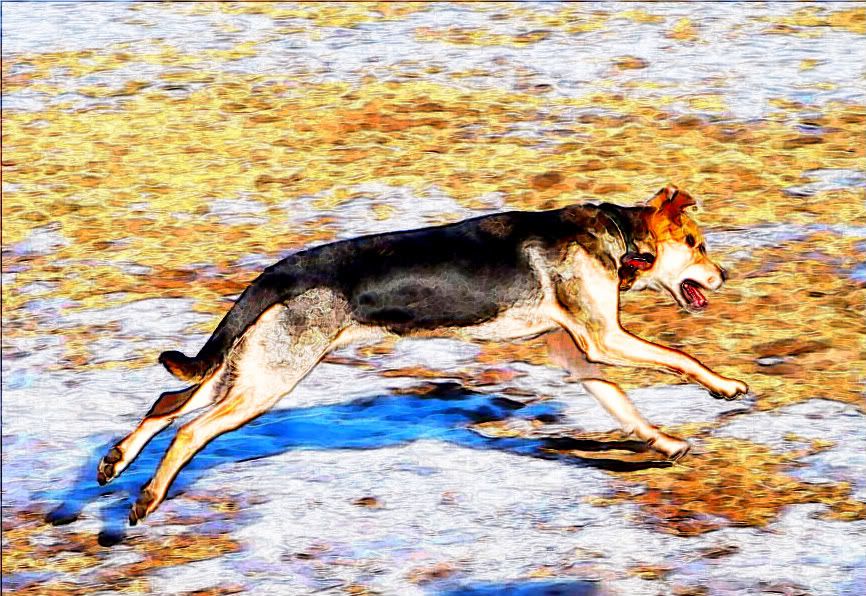
Gypsy in Motion

The girl loves to run.

Monday, November 9, 2009

Crafty Monday - Christmas Collars for Your Pets

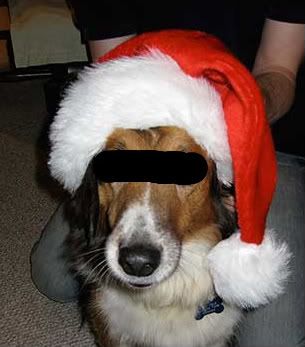
I'm a big fan of the Christmas pet photos. However, I think all animals look dumb in Santa hats.

To wit:


So I decided to make collared bows for the dogs for their Christmas pics this year.


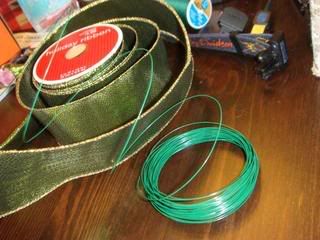
To do this project, you need one of their old collars, wired ribbon, craft wire, and a needle and thread.


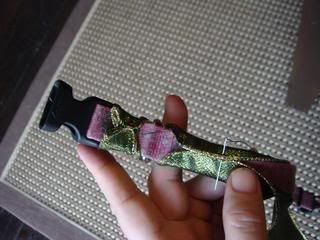
Make sure you size the collar to their current size before you start the project. You will eventually wrap the ribbon around the collar and stitch it up on the backside. Remember this when you're purchasing the ribbon so you buy a wide enough spool.


Because collars usually have mechanisms that allow you to resize them, the ribbon will not lay perfectly flat all the way around. When stitching it up, just do your best and remember that no one will see the underside.


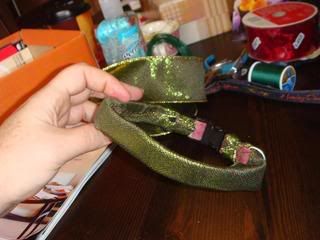
When you finish stitching the ribbon onto the collar, it will look like this. The buckle will rest under your dog's chin, so no one will be able to see if there is some of the original collar showing.


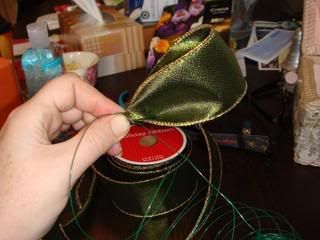
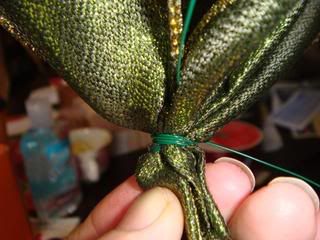
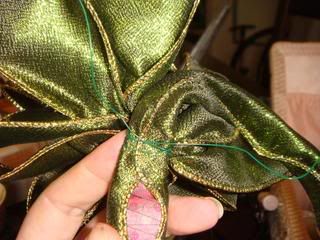
To make the bow, start by folding over a length of ribbon, and wrap/cinch it with the wire.


Keep adding folds until you're happy with the size of the bow.


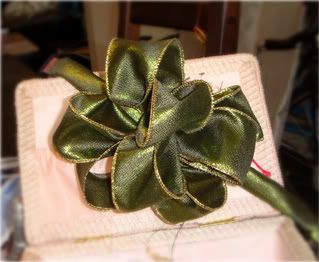
A full bow looks like this. The wire inside of the ribbon allows you to shape it. Trim the "tail" of the ribbon - but leave about 8" of the craft wire (2 strands) which you will use to attach the bow to the collar.


Using the wire "tails" attach the bow to the collar securely. Remember to tuck the wire ends so that the dog will NOT get poked or scratched.
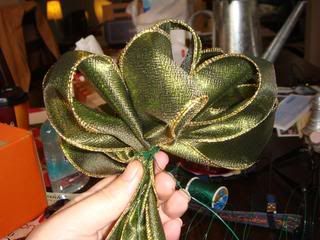


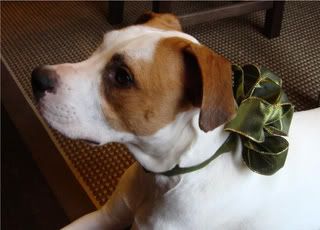
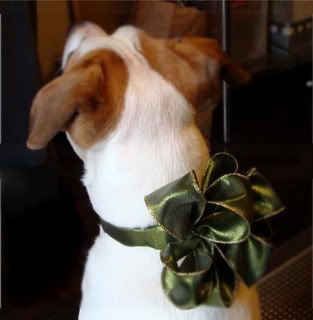
Finished collar:


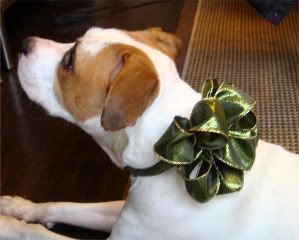
Maisey models her collar.


Isn't that sweeter than a Santa hat?


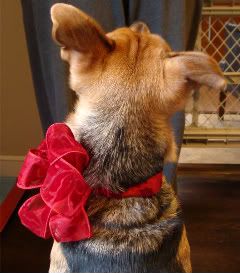
One for Gypsy, too!


Remember that these are special-occasion collars. They will not stand up to the wear and tear of an every day collar. Dogs should not be left alone with their bow collars on, as they are likely to shred them and eat the wire and stuff. I do not recommend this.

Sunday, November 8, 2009

Art is never finished

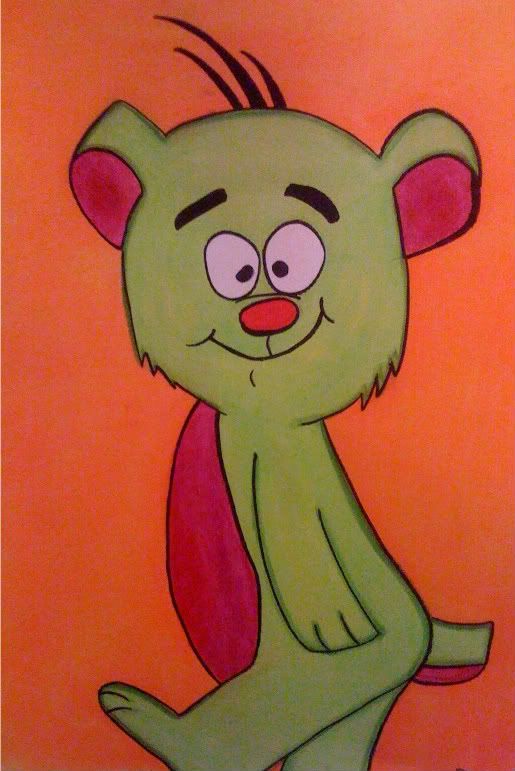
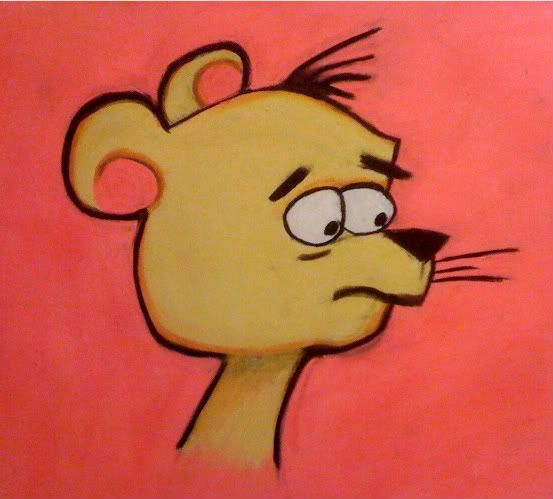
Spent a lot of time this weekend working on the pastels. I'm working on drawing baby animals, so here are a few bears (I think they're bears). The colors appear muted because I quickie-shot these with my phone. In reality the colors are wonderfully rich. If you're experimenting with pastels as I am, keep trying different things. I learned by trial and error what now seems obvious - if you're using a light colored background, go ahead and lay it down before you add details to the image so you don't have to try and color around them. First you put in the background, then add the black details on top (like the hairs on the top of the first bear's head).


This little guy's my favorite. He started as a doodle, but I loved him so I kept him.

Saturday, November 7, 2009

How Much Is That Doggie In The Window?

This morning I was peacefully sleeping a few minutes late. Meg was downstairs with the dogs, making coffee and sorting the morning paper. Then I heard an epic crash. I went flying downstairs to see what the hell was going on.

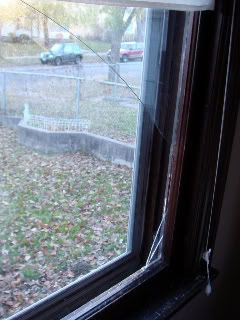
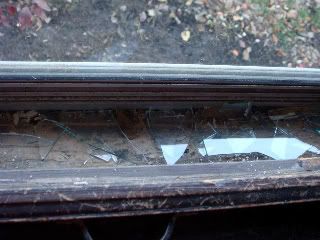
Miss Maisey, who loves all things squirrel, got a little too excited about some squirrels in the yard and busted out a window in the sunroom. As in smashed. Thank goddess Meg had dropped the storms into place a week or so ago, so she didn't go sailing through the window and drop 10 feet into the bushes. But the window took a pretty good beating.


The window sill:


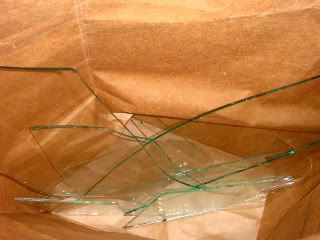
the sad remains of the window:


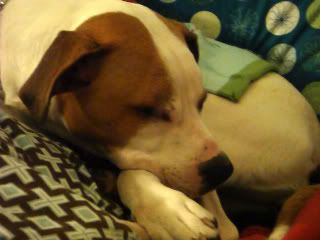
Maisey Potatohead, unscathed, sleeping off her adventure.

Friday, November 6, 2009

What do you see in this photo?


If you guessed "a pibble" you are correct.