
To do this project, you're going to need supplies. Most of this stuff can be found at an art supply store. Start with a pad of paper designed for pastels (ask for help if you're not sure). Remember the size paper should be larger than the piece of art you want to end up with.
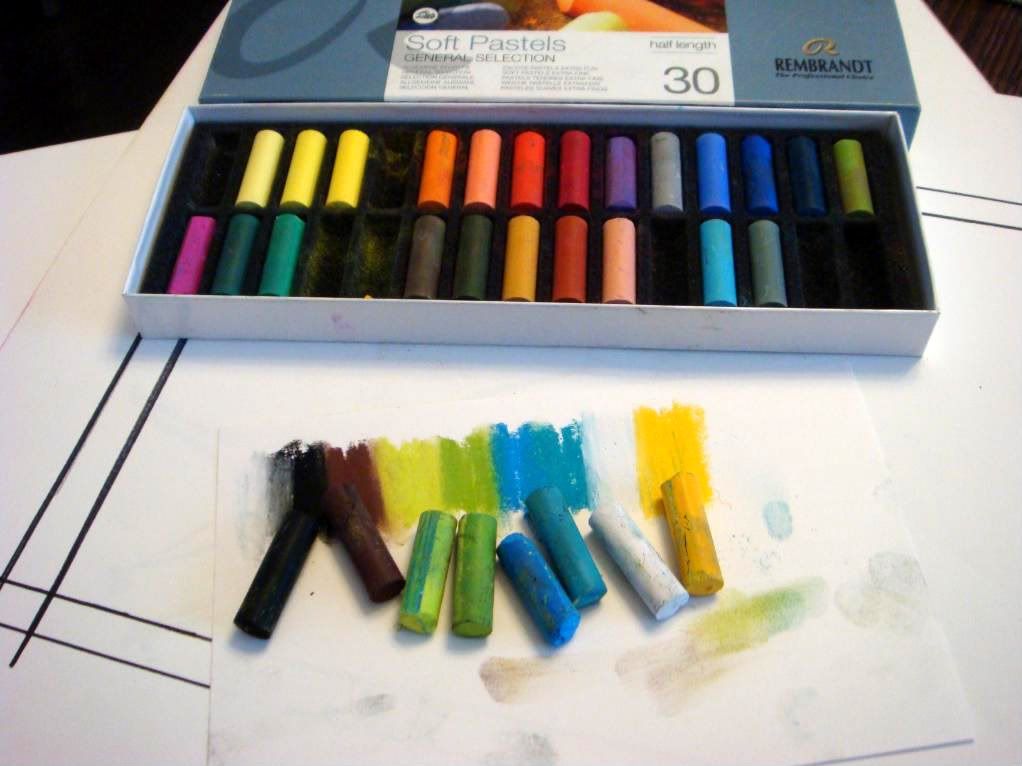
You'll also need a box of pastels (sort of like colored chalk, but with much deeper pigments), a charcoal pencil (I used a 6B extra soft), a fine tip Sharpie permanent marker, a gum eraser (these are grey in color and kneadable). It's also helpful to have a white art eraser (I like Factis brand). If you don't already have one, pick up a little pencil sharpener. Perhaps most important, you need a can of cheap hairspray. Aqua Net is the gold standard.

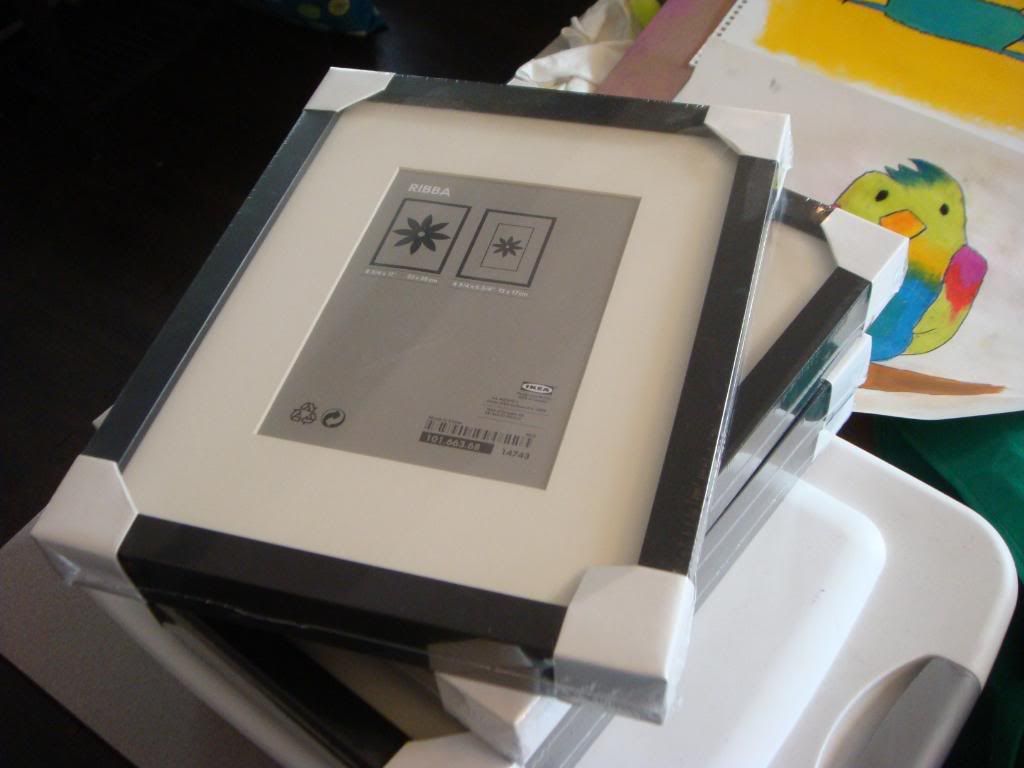
And of course, a set of frames. Ikea has frames that are quite cheap.
If this is your first pastels project, you will be tempted to use every color in the box. This is a mistake. For this project, choose a limited color scheme. I chose 2 blues, 2 greens, yellow and black.
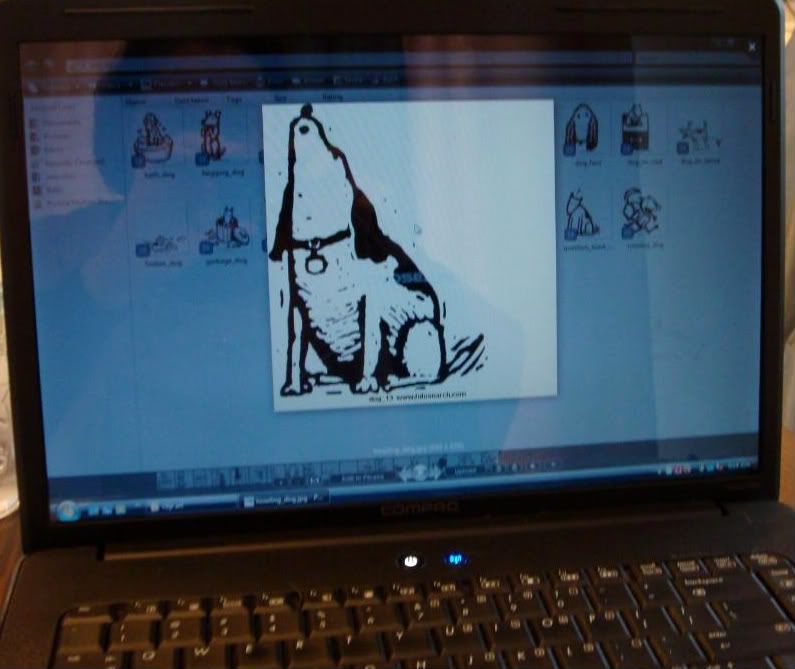
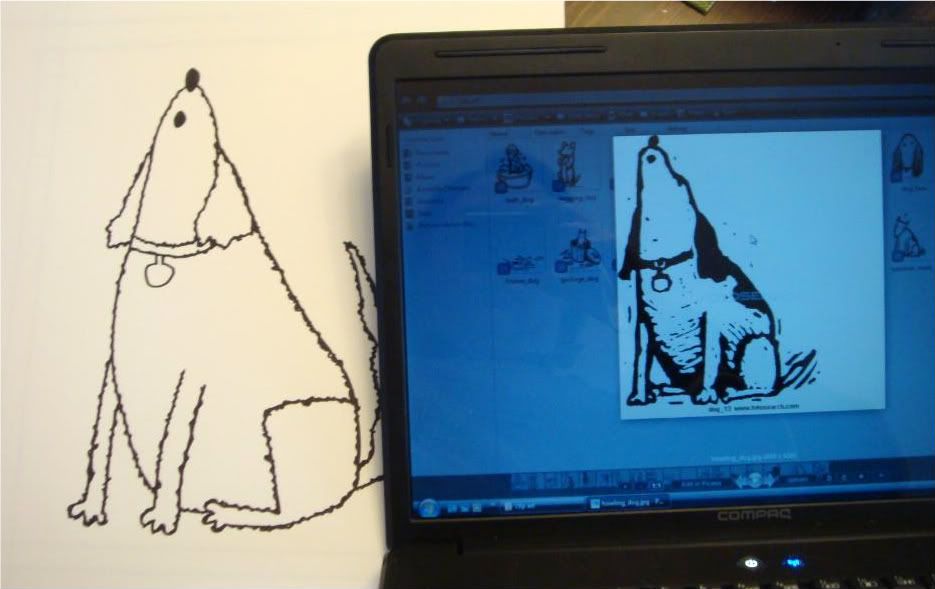
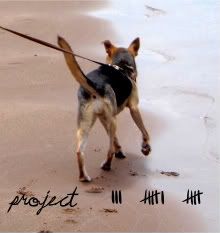
Next find your source of inspiration. I decided to go with a dog and cat motif and found line drawings (clip art) on Google Images. You can also use images from a coloring book or your imagination. It's helpful if your source material is simple line drawings.
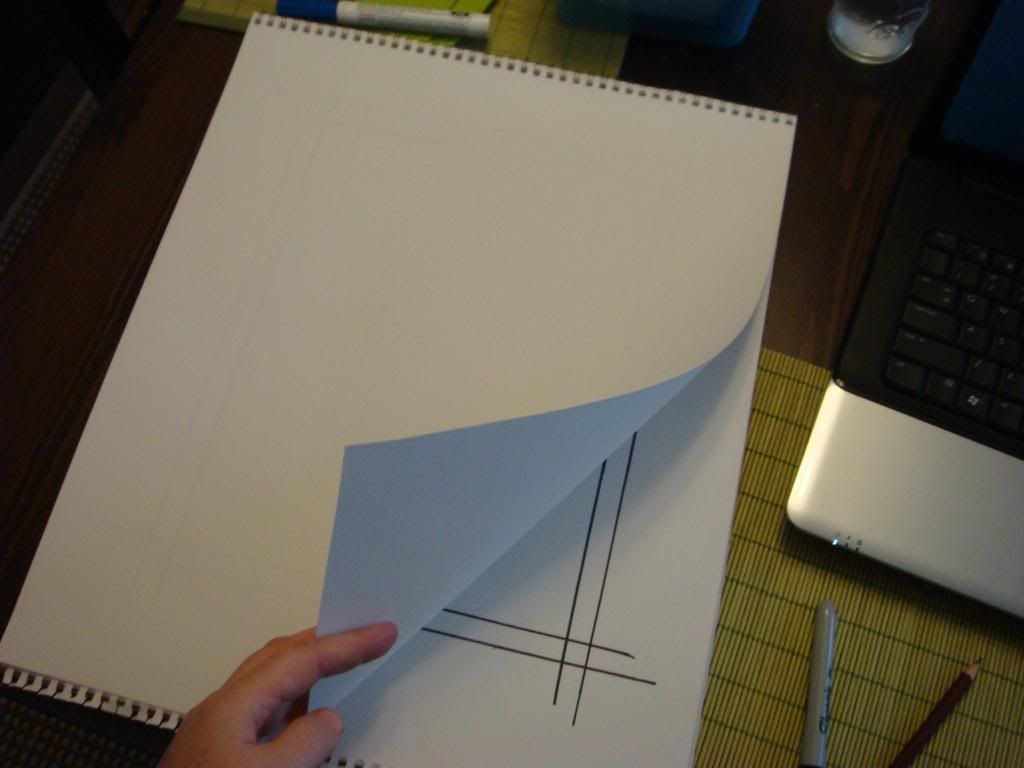
Now, create a template - which is the outline of the size of the art you want to make. You'll know this by looking at your frame. Once you know the right size, color the lines with dark Sharpie marker.

When it's time to draw, you'll slip this template under your paper.
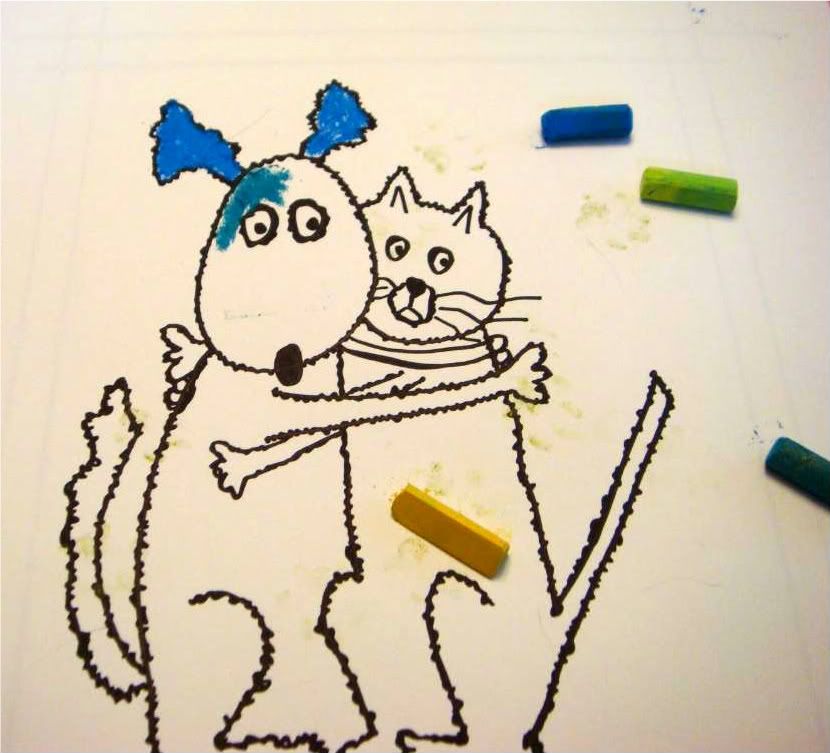
Now, let go of your ego and perfectionism and just do a simple line drawing of your image using your Sharpie marker (DO NOT use the charcoal pencil for this part). As you can see from my sample below, it does not look exactly like the source image, nor should it. Put your personal spin on it. At this point, do not do any shading or color fill. That comes later.
Once you have completed your drawings, slip the template back under the image. It's time to color!

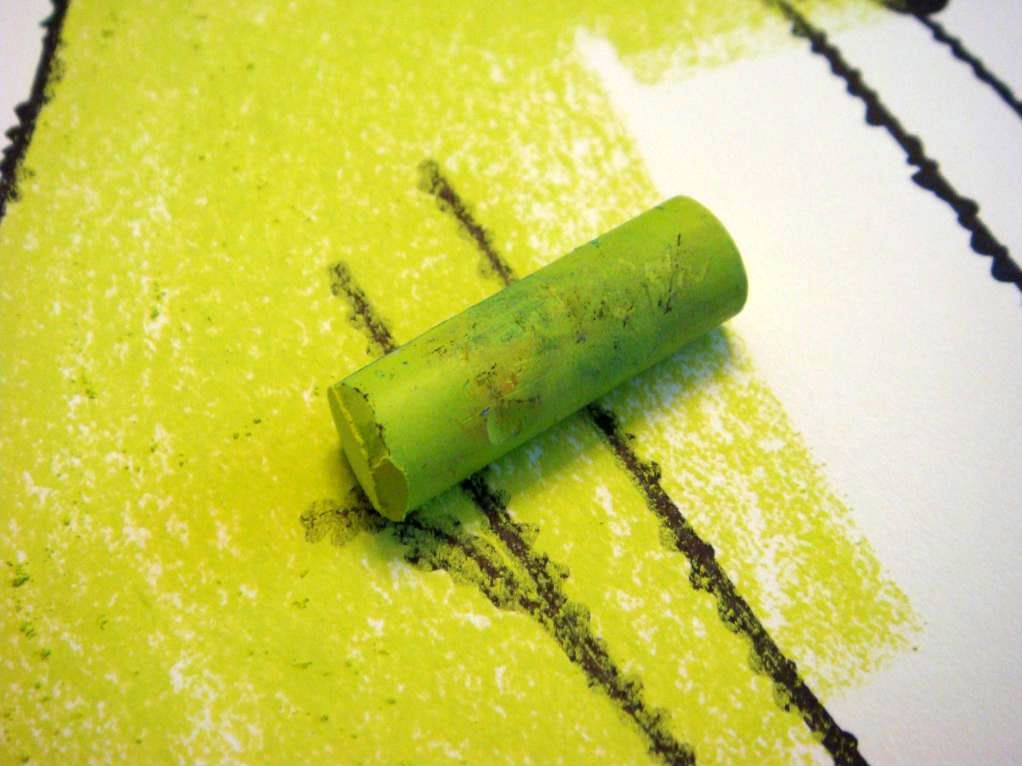
When you're coloring, it's okay color right over the Sharpie marker lines. You will fix this later.
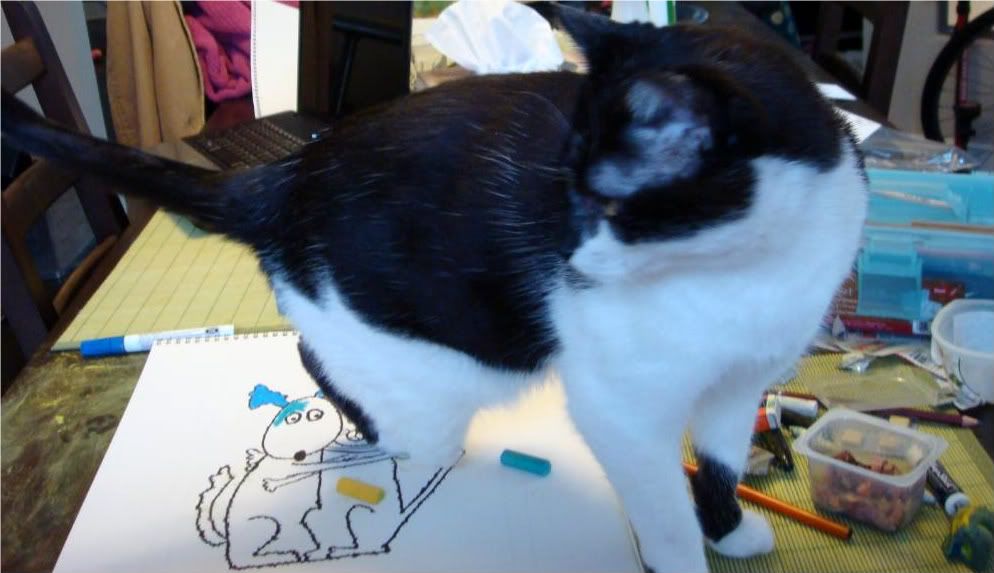
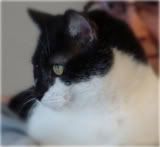
When the cat offers to help, tell him "no thank you" because he's not helpful in the least.
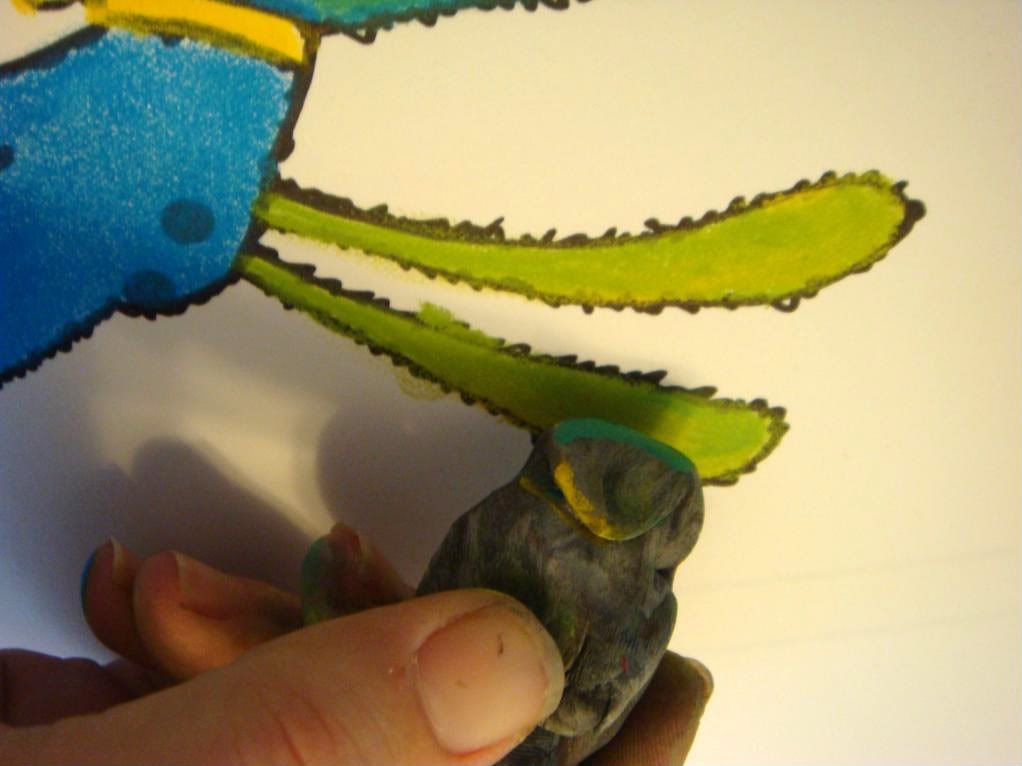
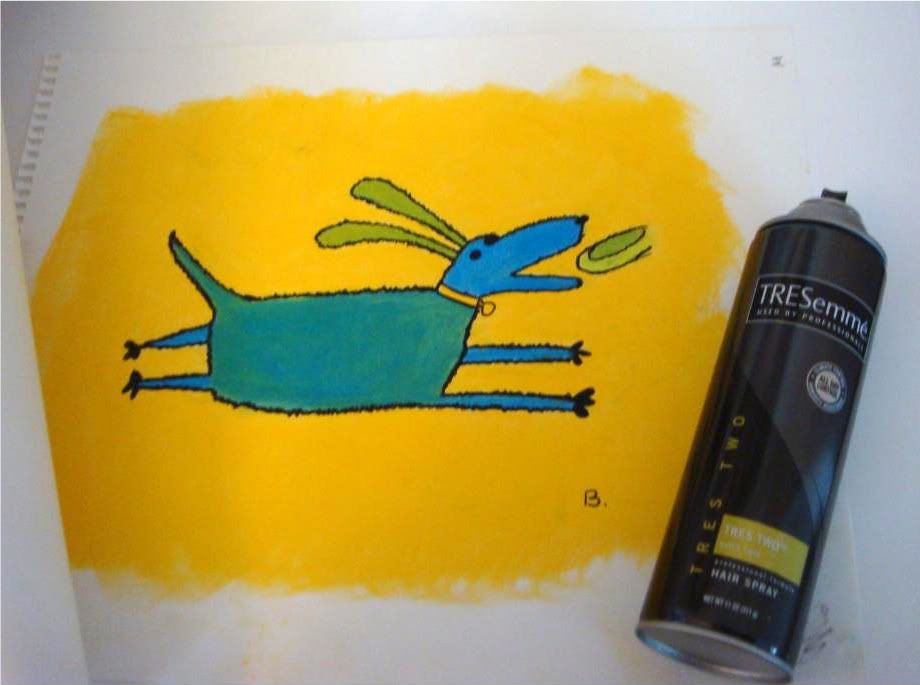
Once you have colored your image, you will need to do some blending. The pastels never cover the page completely (notice how you can see white through the blue dog's head below). It's time to get out your grey rubber eraser. Smash it all up like silly putty and use it to smear around the pastels. It will push the pigment into the paper and give you brilliant color. When it's time to move to an area with a different color, you just knead the eraser, find a clean side, and keep going.
If you have accidentally colored outside of the lines, it's time for the white Factis eraser. This will clean up mistakes, whereas the grey rubber eraser will just smear them.
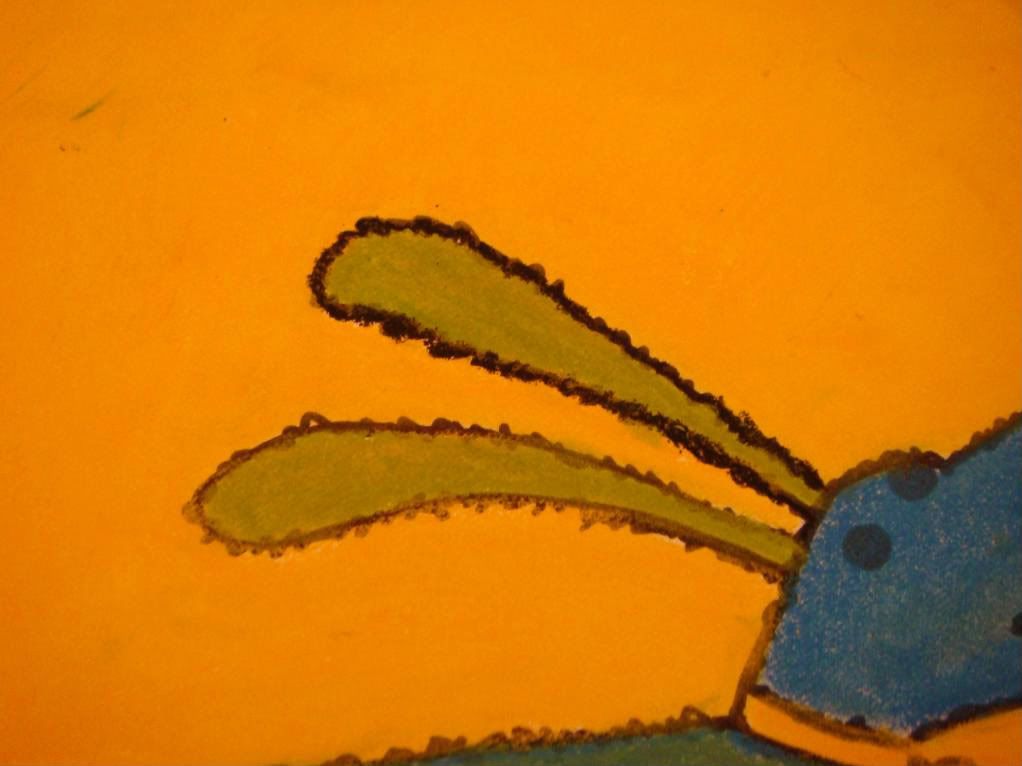
When you're finished coloring the image and the background (and blending with the gum eraser), it's time to get out that charcoal pencil. You now go back and trace over where you originally drew lines with the Sharpie marker. See the difference in the ears below.
Once you're finished with the piece, get out that can of Aqua Net and spray over the image. This will "set" the pastels to preserve the image and prevent smearing.
Time to do the next one!
And the next!

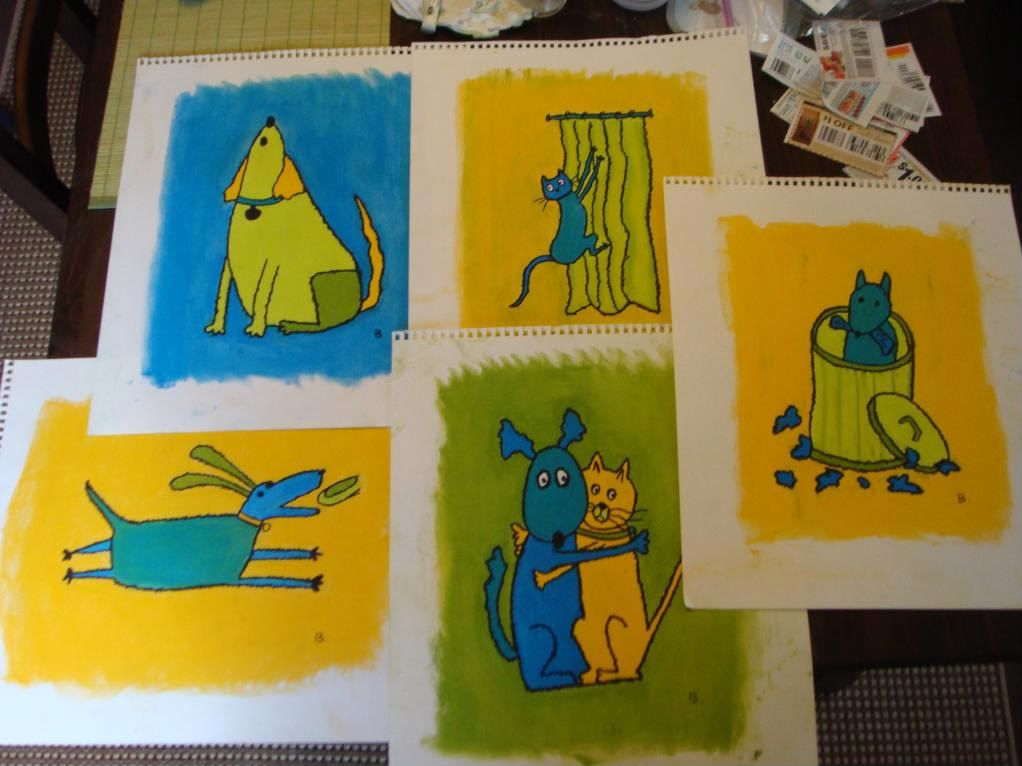
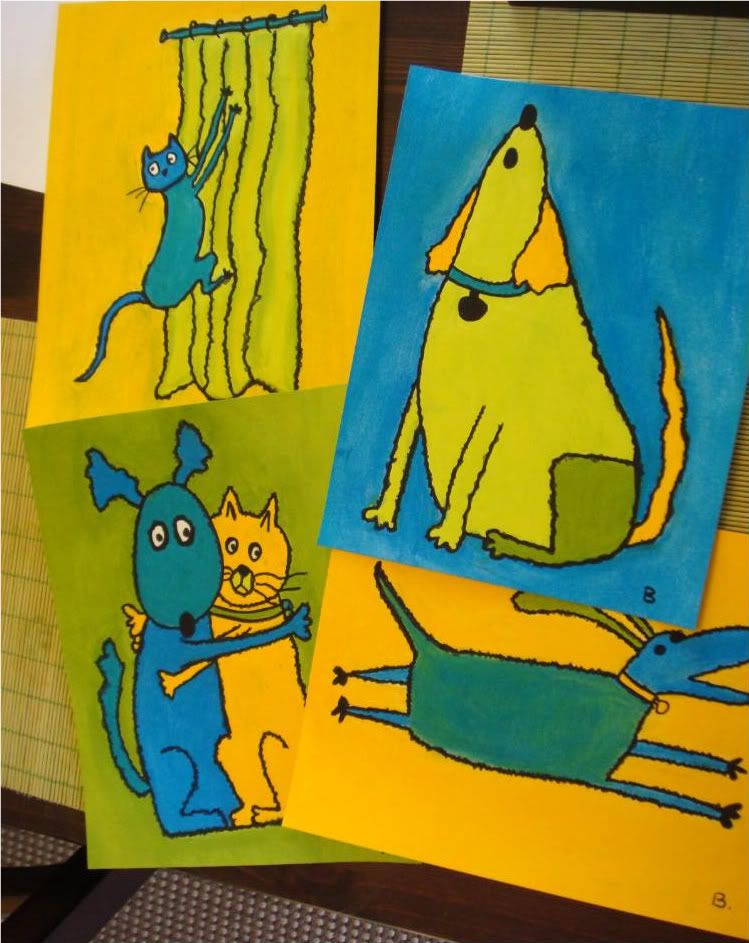
All of the pieces - colored and sprayed.
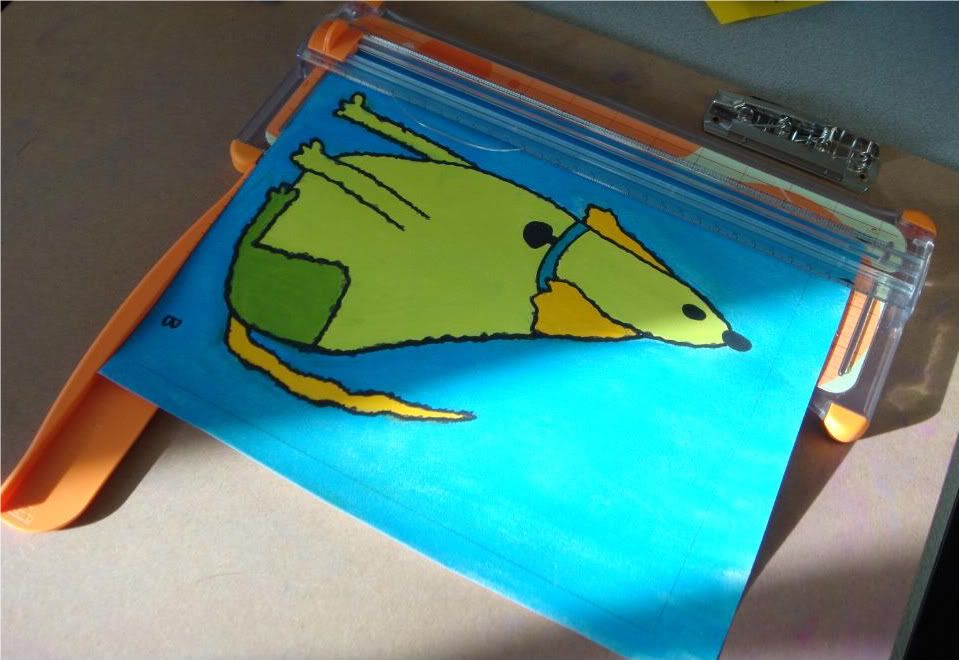
Time to trim to fit into the frame. If you don't have a papercutter, just work carefully with scissors.
All images, trimmed.
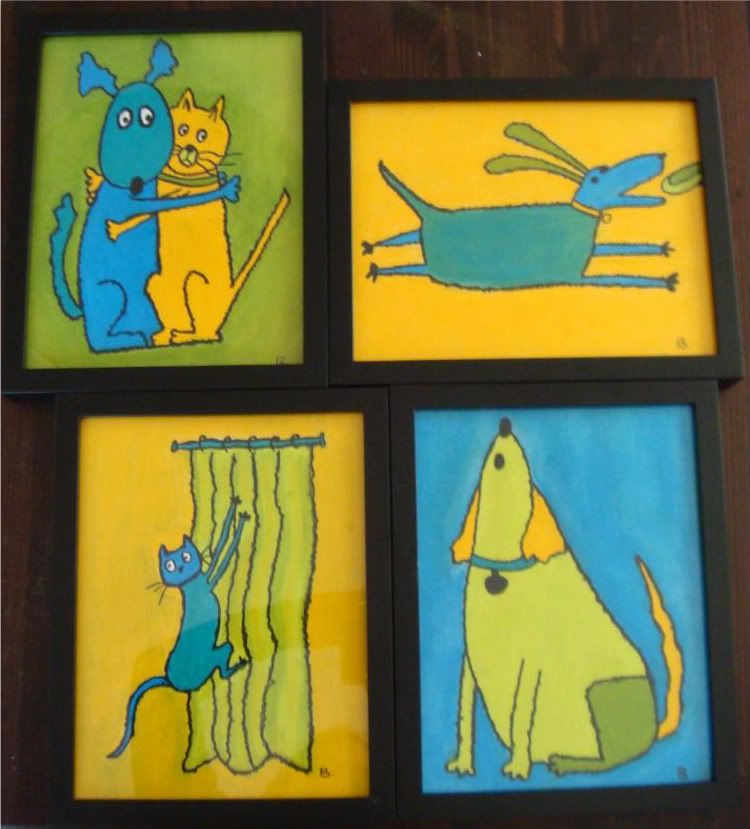
All images, framed.
I probably should have mentioned this is messy project.

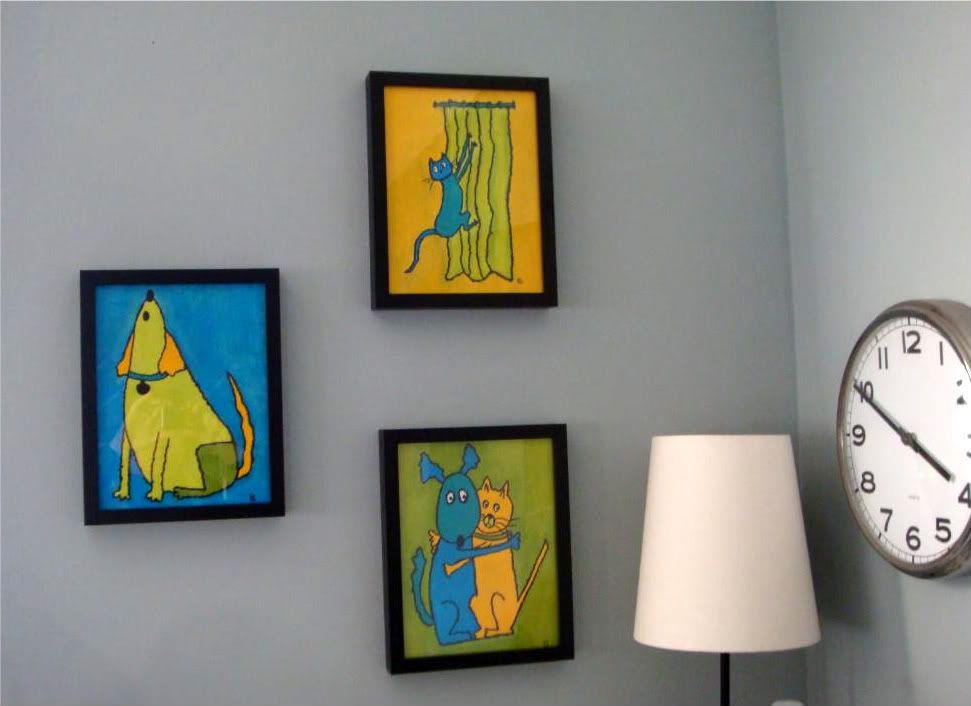
And finally - the art on our walls.


This is just so cool! They look wonderful and it seems like I might could do this too (although not near as well as you!)
ReplyDelete-Ashley
This is amazing! You have great talent! I love the color scheme! I would totally pay for those!
ReplyDeletewow.
ReplyDeleteditto nic.
those are awesome babs! i lub them.
These are awesome! I love 'em!
ReplyDelete